SquadStash
Help Center
Find answers to your questions.
Expenses
Last updated: 2024-05-23
Tracking expenses is the first step to getting reimbursed.
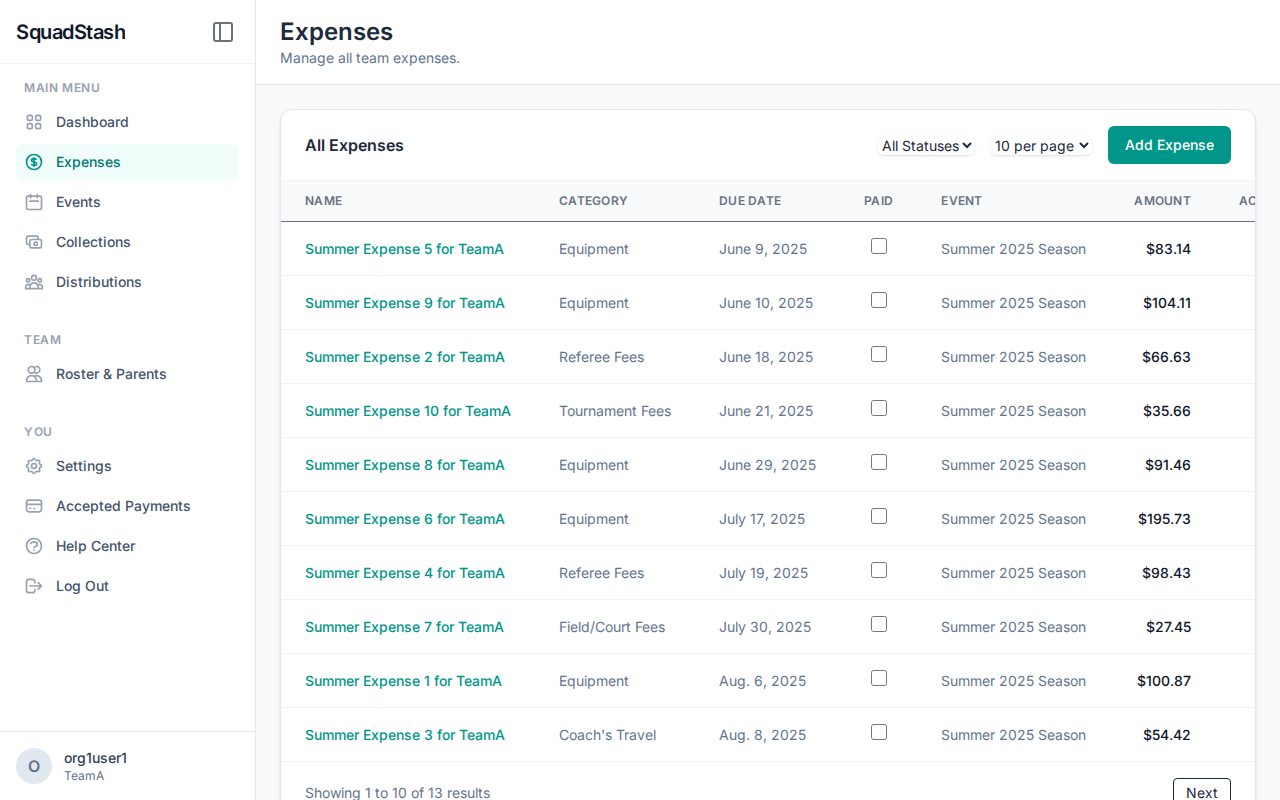
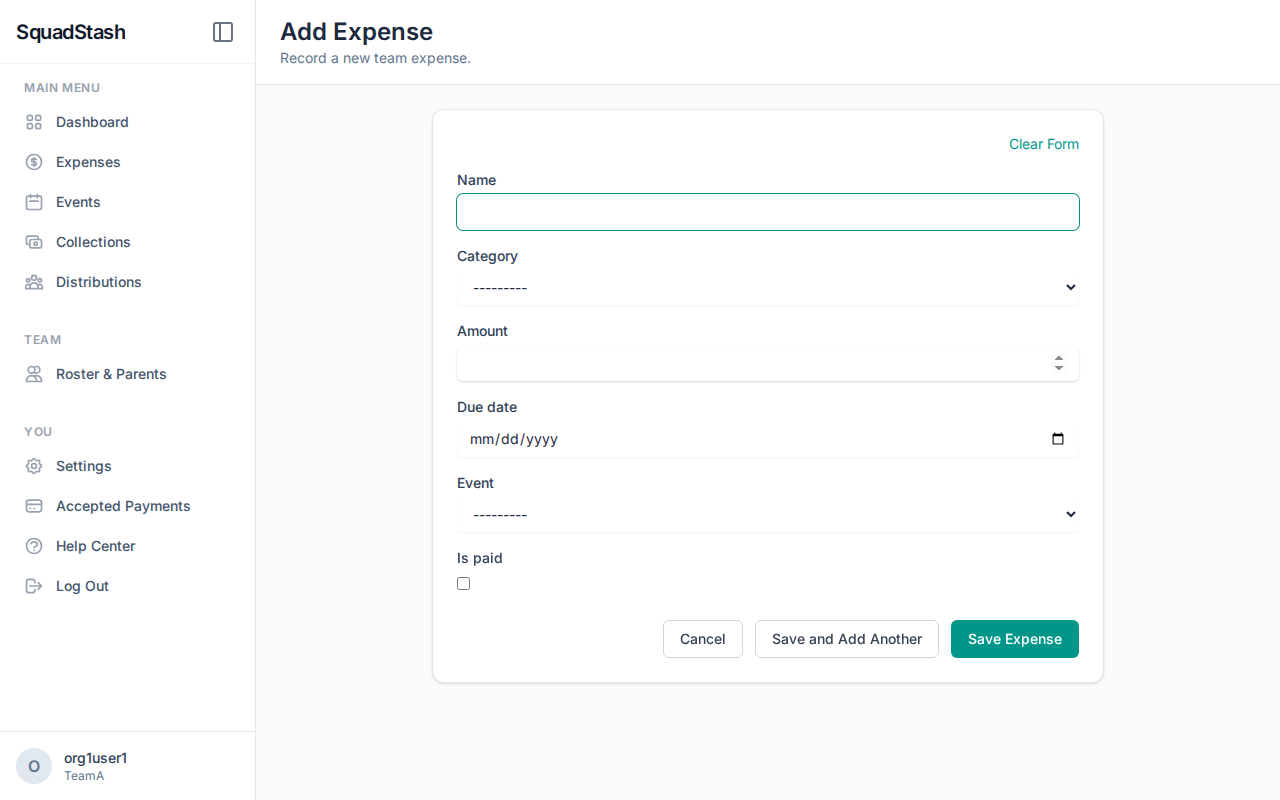
Adding an Expense
- Navigate to Expenses.
- Click Add Expense.
- Fill in the fields:
- Name: What did you buy? (e.g., "Ref Fees - Game 1").
- Amount: The total cost.
- Date: Date of purchase.
- Category: Choose a category to group costs (e.g., Equipment, Travel, Lodging).
- Tip: If you select Coach's Travel, a Calculator button will appear. Click it to automatically calculate reimbursement based on miles driven and per diem rates.
- Event: (Optional) Link this expense to a specific event.
- Receipt: (Optional) Upload an image of the receipt.
- Click Save.
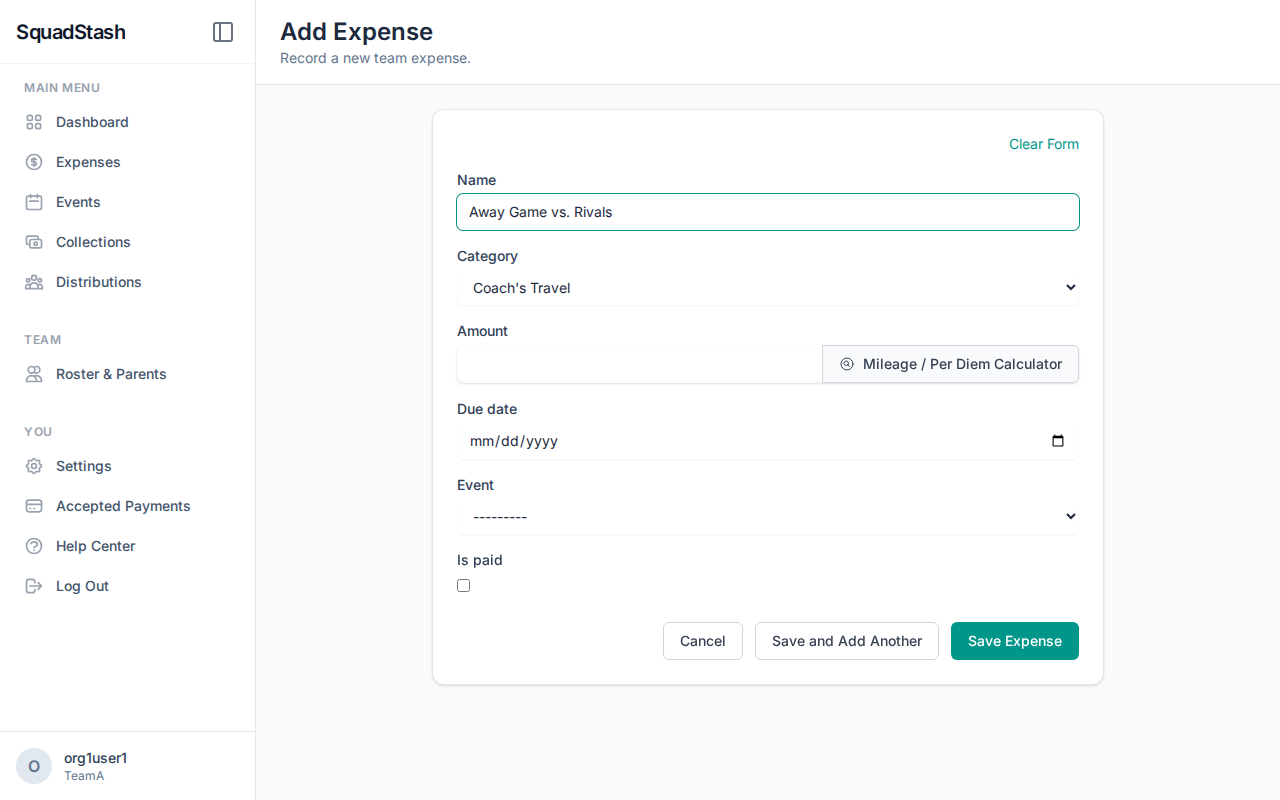
Calculating Mileage & Per Diem
When adding a travel expense:
- Select Coach's Travel as the category.
- Click the Mileage / Per Diem Calculator button next to the Amount field.
- Enter your Total Miles (round trip). The rate defaults to the current standard (e.g., $0.67), but you can adjust it.
- (Optional) Enter a Distance Threshold if your team only reimburses miles over a certain limit (e.g., "first 100 miles free").
- (Optional) Enter Nights Stayed and a Per Diem Rate for overnight trips.
- Click Apply. The total amount will be filled in, and a detailed breakdown will be added to the Description.
Managing Expenses
- Edit: Click the expense name to change details.
- Cancel: If an expense was entered in error, you can cancel it.
- Note: Cancelled expenses stay in the database for audit trails but are effectively $0.00.
- Paid Status: You can mark an expense as "Paid" if you have already reimbursed yourself or paid the vendor, primarily for your own tracking.
Tips
- Upload receipts immediately so you don't lose them.
- Use consistent naming conventions (e.g., "Date - Item") to make searching easier.
Need help? Contact support at support@squadstash.com.
Need more help? Contact Support